5.10 Displaying Grid Lines
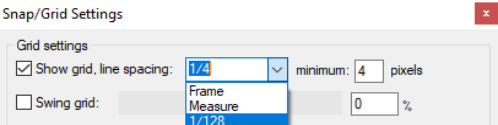
REAPER offers a number of options for displaying grid lines Grid settings and spacing are defined in the Snap/grid settings window: choose Options, Snap grid, Snap/ grid settings from the main menu or press Alt L.
Kind: concept (user-guide-section) Chapter: 5 Project Arrangement Basics Source: REAPER User Guide v7.70

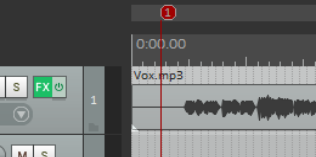
REAPER offers a number of options for displaying grid lines Grid settings and spacing are defined in the Snap/grid settings window: choose Options, Snap grid, Snap/ grid settings from the main menu or press Alt L. Spacing options are shown above: other settings will be explained in the sections dealing with Snapping with Snap/Grid Settings. Grid lines are toggled on/off using the toolbar Grid button, or the Options, Snap/grid, Show grid command, or the shortcut Alt G. Grid line display options can be found in the Appearance page of your **Preferences (**above right). Grid and marker lines can be displayed over, thru, or under media items in any permutation. In the example shown here, grid lines go under and marker lines over the media items. You also have an option to set the grid line spacing to frame or measure rather than to a fraction of a beat. Frame can be useful when working with video media. (Frame rate is set in Project Settings, see Chapter 2). If measure is selected, the grid setting will be determined by the time signature. Later in this guide (Chapter 7), you will be shown how to use grid settings to automatically snap various objects and items into position.