2.9 Using the Navigator
The REAPER Navigator shows an overview of your project.
Kind: concept (user-guide-section) Chapter: 2 REAPER Project Basics Source: REAPER User Guide v7.70
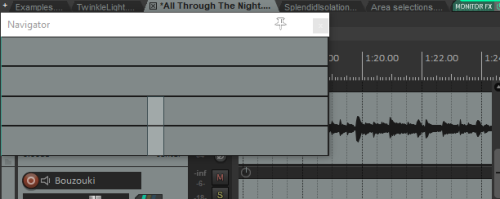
The REAPER Navigator shows an overview of your project. It can be zoomed in or out to display a selected area area of your project.
To display the Navigator, choose the View, Navigator command. Use Ctrl Alt V to toggle the Navigator display on and off.
You can also use the Navigator to scroll thru your project. Simply position the mouse over the box within the navigator window that represents the on-screen area of your project. Then hold down the left mouse
button, and click and drag to scroll the display. Release the mouse button when finished. Other ways of using the Navigator are:
Activity Method Activity Method
Define area to display Right drag Zoom in/out tracks only Alt right drag
Reposition display area. Left click Zoom in/out time only Ctrl right drag
Move display area. Left drag Move play area and cursor Ctrl left click
Note also that the mousewheel can be use to scroll and/or zoom as in workspace itself.