14.2 REAPER's Notation Editor: a First Look
The single most important thing for you to understand about REAPER's notation editor is this: It is a fully integrated part of the MIDI Editor, not a stand-alone module.
Kind: concept (user-guide-section) Chapter: 14 Music Notation and REAPER's Notation Editor Source: REAPER User Guide v7.70
The single most important thing for you to understand about REAPER's notation editor is this: It is a fully integrated part of the MIDI Editor, not a stand-alone module. Any changes you make when editing will be to the MIDI item itself, and will show up in every view. This architecture has a number of significant advantages, such as:
- If you ar0e familiar with working in, say, piano roll view, then learning to use the notation editor presents a
significantly less steep learning curve than would otherwise be the case. Indeed, you would probably be unwise to attempt to use the notation editor without first getting to know the MIDI Editor, and especially piano roll view.
- You can make your edits (such as
moving, copying or modifying notes) in whichever view you find it easiest to work. The results of the edits will be visible (and audible) in any view. The MIDI Editor's different views are selected from the View menu. The different modes (already introduced in Chapter 13) are:
Mode: piano roll (Alt 1) Mode: named notes (Alt 2) Mode: event list (Alt 3) Mode: musical notation (Alt 4)
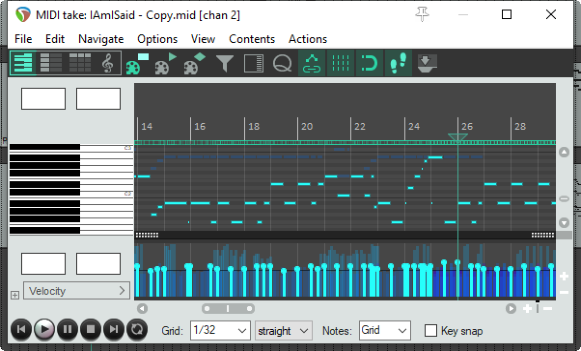
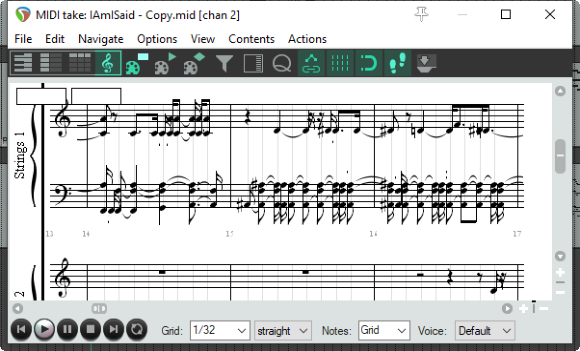
Consider the example on the right. This is a fairly simple MIDI item. It could have been imported from an external MIDI file, recorded using a keyboard, or crafted in the REAPER Midi Editor piano roll view or musical notation view. It is shown here in piano roll view (top) and musical notation view. When you switch between views, you are seeing exactly the same notes each time. You can also see that the MIDI editor environment is also the same. For example, the menus and toolbars are the same, as is the essential MIDI Editor functionality. In either of the two view shown here, for example, you can add, delete or move notes.
Note that a MIDI item can be displayed in only one view at a time (e.g. musical notation mode or piano roll mode, but not both at once), although different items may be open at the same time in different views in separate MIDI Editor instances.
Note also that the methods employed when working within the different views (or modes) are as far as possible, the same.
For example, use double-click to insert a new note. Use rightclick-drag to select a series of notes (marquee). You can perform tasks on your selection such as delete, move, copy, quantize or humanize, and so on.
As you will see later in this chapter, musical notation view also incorporates a large number of extra features that are specific to scoring music.
First, let's return for a moment to our simple example.
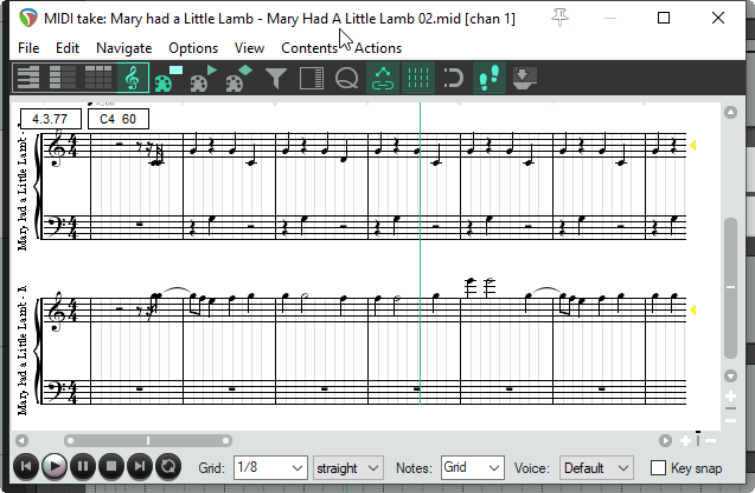
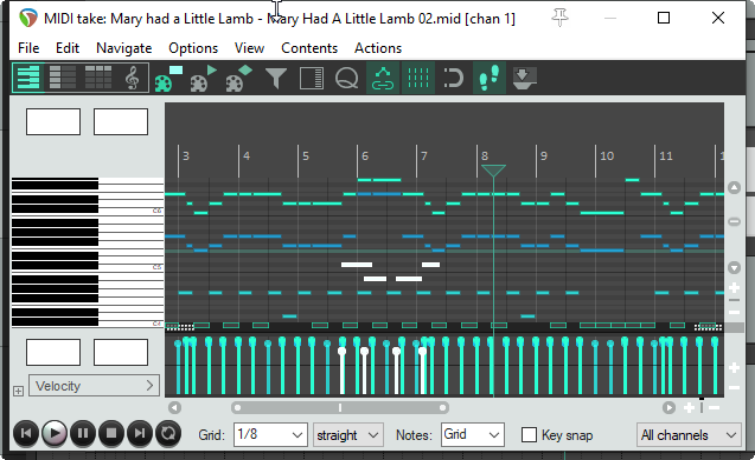
For example, you could add some more notes in the piano roll view.
When you switched to musical notation view, you would see that your edits were also displayed there.
Thus the process of working and moving between the different modes is quite seamless.
If you are working with projects which contain more than one track with MIDI items, and/or more than one MIDI item per track, it is important that you understand your options for managing how the MIDI Editor (including musical notation mode) can handle these. You might already be familiar with this, from sections 13.27 to 13.29 of this guide. If necessary, refer back to these sections, but there follows a brief summary.