20.10 Video Workflow Tips
If you are new to video editing, you might find the following tips helpful.
Kind: concept (user-guide-section) Chapter: 20 Using REAPER with Video Source: REAPER User Guide v7.70
If you are new to video editing, you might find the following tips helpful. They make reference to many of REAPER's tools and features (such as media explorer, screensets, track manager, markers and regions) that are explained elsewhere in this user guide. Of course, these tips are general. Whilst they are intended to help you, you will most likely also have considerations specific to your own needs and workflow that might not be mentioned here, or that might make aspects of this model less suitable for you.
- Video files require large amounts of disk space. However, even if you are intending to distribute your work over the internet, perhaps via YouTube, you should record and edit your material (video and audio) in high quality, then use lossless codecs to convert your files for distribution. A number of freeware programs are available for this, such as MediaCoder, Quick Media Converter and Super Video Converter. 2. Before you start editing, organize all your material. This might be scattered across various SD cards, hard disks, USB sticks, or whatever.
Copy all your source materials into one place on the hard disk of the computer on which you use REAPER. Create a folder for the project, and various sub-folders for your media, such as videos, audio music, audio spoken, and so on. If necessary rename your various source files to make them more easily identifiable
and so as to present them in a logical order. Make sure that after every editing session you back this folder up to at least two different destinations. 3. Create your project file in REAPER. Check your project settings, especially the video settings. Specify your required timeline format: remember that available formats include Hours:minutes:Seconds:Frames and Absolute Frames. Set up a windows screenset suitable for video editing, remembering, for example, that the video window is dockable, that media explorer is available to you for managing and accessing your source materials, and that track manager is available for managing your tracks. 4. Import your video files into your project. Video takes that run in parallel to each other (i.e. at the same time) should be placed on separate tracks. Items that are sequential may be placed on a single track. 5. Use markers and regions to help manage the media items in your project. Make such edits as you need to your video items. 6. If you need to replace the soundtrack of a video item with a separate audio item, display the video item's Item Properties, then click on the Properties button and enable the checkbox Ignore audio. The replacement audio item should be placed on a separate track. 7. Add transition effects and text titles. 8. Edit existing audio and/or add any new audio material that may be required. 9. When you are ready, render your project to a single file.
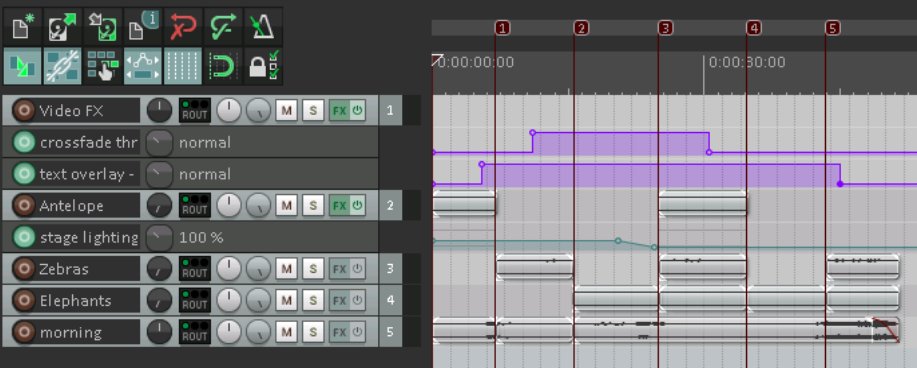
A simple example of such a project is shown above. This is included as Wildlife2a with your sample files.